Showing posts with label tutorial. Show all posts

Friday, 14 June 2013

Vintage Film Look Tutorial // For PicMonkey

Hey Guys! Today I have a little Picmonkey tutorial for you.
Lately I've been loving this vintage film look for my photos. And even though it's not the real thing, it still looks cool. Right? Right. For this technique, I used Picmonkey. Because it's cheap, and easy. And also because I do not have photoshop like all you cool people :)
 
This technique works best with highly saturated photos.
 
Enjoy!


                                                TA - DA!!

Wednesday, 10 April 2013

D.I.Y. Wednesday // Vintage {looking} Mason Jars

 
Hey-o! Today I'd like to share a quick little DIY project with you. So you can make your own Vintage looking Mason jar! Pretty epic eh? Yeah. So to start off, I'm going to show you some materials you will need for this easy {and messy} craft.
 

Materials:
one Mason Jar, some Mod Podge, a little bit of Water, Food Colouring {green, and blue}, and a Paintbrush.
 
 
First, you'll want to mix your Mod Podge, water, and food colouring together in a bowl. Make it pretty watery, but not too watery....am I making sense? Sometimes I don't even know if I'm speaking English! :b Mix until you get the right colour and consistency. Then pour a little bit into your jar.
 
 
Mix it up! Shake it! Shake it like your life depends on it!!! okay...maybe not that much. Just make sure the whole {inside of the} jar is covered!
 
 
Now open up the jar, and shake the rest of that stuff out into the bowl. Let your jar air dry, or if you're impatient like me, you can use a blow dryer. You might need to do 2 coats, but it just depends on how dark you want the colour to show.
 
 
                     And now you're done! Pretty nice if I do say so myself :) Thanks for reading!

                                                                     ~ Emma-lee

Thursday, 17 January 2013

DIY Chalkboard Frame

Yesterday My Mom and I were trying to think of Decoration ideas for a Baby shower we're doing. We have made many trips to the dollar store while planning this event, and she happened to randomly pick up this cheap plastic mirror. I think it was like 1.25, but how would we incorporate a mirror into baby shower decor? Well, my brain started thinking...and I came up with the idea of a chalkboard frame (Well, technically I got the idea from Pinterest). Since I had some chalkboard paint on hand, and a nice sturdy piece of cardboard, I got to work. I broke out the mirror in the middle, and cut out a piece of cardboard to fit in the mirror. I then painted it with several coats of chalkboard paint, let it dry (thoroughly), and then rubbed some chalk over the board and then rubbed it off again. I carefully slipped it into the frame, and rubbed some more chalk over the surface, then rubbed it off again. (It's very important to rub chalk on and off of the board to get the surface ready)


This project was super easy and fast to make, not to mention seriously inexpensive! I think I spent a total of about 3.00 on the supplies, and about 15 minutes of time (I used a hairdryer).
Well, that's my DIY for the week :)
I hope you guys liked it! I think it will make a nice addition to the shower.

~ Emma-lee
Posted by Picasa

Wednesday, 2 January 2013

DIY ipod case


So I know it's a little bit late to call this a Christmas gift idea, but that's what I made them for. I personally don't own an ipod myself, but my friends and sister do. So I though that making them these cute ipod sleeves/cases would be an easy, cost effective gift project. All you need is some felt, embroidery floss, scissors, a needle, and about a half hour. I searched pinterest for some inspiration, and experimented a little with how I wanted them to look, until I came up with these adorable (if I do say so myself) little animal patterns. You'll want to make the sleeve wide enough to fit the ipod, but thin enough so that the ipod doesn't slip out easily. I started out with two 13 x 7 cm.  pieces of light brown felt, two more pieces of dark brown felt for the ears, and one heart shaped piece of light pink felt for the nose.

 
First: you're going to start stitching on the ears.
 

                                                        and tie the floss off at the back.


now your puppy should look something like this.
 
 
Thread your needle with some pink embroidery floss, and stitch on the nose.
 
 
Next you'll want to stitch on the eyes. *
 
         
                                  Thread your needle, and begin a blanket stitch around the edges.


                                                    This is what it should look like.


                                     Sew around the edges like this, and you are done!


          I also made a couple more of these as different animals. Once you make one, you can instantly see the endless possibilities.


I hope you guys found this tutorial easy to follow, and I'd love for you to tell me if you tried this out.

Happy New Years!

~ Emma-lee

Saturday, 15 December 2012

DIY // 10 days of Blessings jar

Today I realized that there are only 10 more days until Christmas! But I also realized that I still haven't made myself a countdown until Christmas. So today I decided to instead of make a calender or something, I made this 10 days of Blessings jar. The idea is that everyday for 10 days until Christmas I write down one blessing on one piece of paper, and place it in the jar. I also write down how many more days there are left until Christmas on the lid. All I used for this project was 1 mason jar (including lid), some chalkboard paint, chalk,  a paintbrush, a hair dryer (optional), and 10 pieces of paper. I think if I do this again next year, I'd probably start it on Dec. 1st, but hopefully you guys try it! Please tell me if you do :)


Friday, 14 December 2012

Candy Cane Dipper Recipe

 
    Last night we were all up late preparing for our cookie exchange, and one of the fun baking projects I made were these cute little candy cane dippers. They were super easy to prepare, and they taste delicious! So here are the simple instructions on how to make them:

Supplies -
about 30 large marshmallows
2 Tbsp. Coconut oil
1 cup of coloured sprinkles
about 30 candy canes (miniature or original)
1 cup of semisweet milk chocolate chips
1 litre of boiling water
crockpot
parchment paper
jar (with large opening)
small bowl

First pour the boiling water into crockpot, and turn heat level to high. Fill the jar with the chocolate chips, and place in the crockpot upright. Put the lid on the crockpot until the chocolate melts, and while you're waiting, unwrap candy canes and poke each one into a marshmallow.


 Lay out some parchment paper on a cookie sheet, and pour the sprinkles into a bowl. Once you've got all of the candy canes ready, start dipping the tops of the marshmallows into the melted chocolate. Then roll the marshmallows in sprinkles, and place on parchment paper.


Continue doing this with each one, until you're done. Then put the entire cookie sheet into the fridge for approx. 30 minutes, until the chocolate hardens.

Now you're done! Enjoy dipping these cute treats into your hot chocolate, or just eating them plain. They taste yummy either way :)

Happy Weekend!

Emma-lee

Wednesday, 21 November 2012

DIY Photo to Canvas Transfer

Hi everyone! Today I've got a very special treat for you. My friend Anjali from L&P to English Tea, will be guest posting today. Thank you so much Anjali for taking the time to write this for me. I hope you enjoy this fun tutorial.


DIY Photo to Canvas Transfer


Hey guys! I’m Anjali from From L&P to English Tea and I’ve got a really easy, simple but fun and cool DIY for you today.


You may have seen this idea floating round the Internet lately, like I have, and thought about trying it. I thoroughly suggest it! It’s easy, simple and relatively mess free, but fun and cool at the same time. And it makes you feel good when you’ve finished knowing that you’ve saved money. And that’s always a good thing. Right? Right.


So! Here we go!


Here’s what you’re going to need for this project:


What I forgot to photograph was water. You’ll need that too, twice: first just to put a bit in the jar, and later on, when you’ll want it in a spray bottle or alternately you could probably use a water-logged sponge. The photos are just ones that you’ve printed off the computer on normal paper. They can be black and white or in colour, it doesn’t matter.

 I’m from New Zealand, but currently live in England, and in neither country do we have Mod Podge (though, actually, I have a slight feeling you can actually get it here in the UK now…), but I know that you guys over in America and Canada do have it. So if you’ve got that, that’s probably better than PVA glue. And if you do have some, you won’t need the jar. For the rest of us got-no-Mod-Podge-ers, we’re going to make a substitute. Here we go:

 
Step 1: Squeeze some PVA glue in the jar. I made quite a lot because I want to use it for some other projects, but if you just want to use it for this, then don’t make too much otherwise you’ll just end up tipping it down the sink.


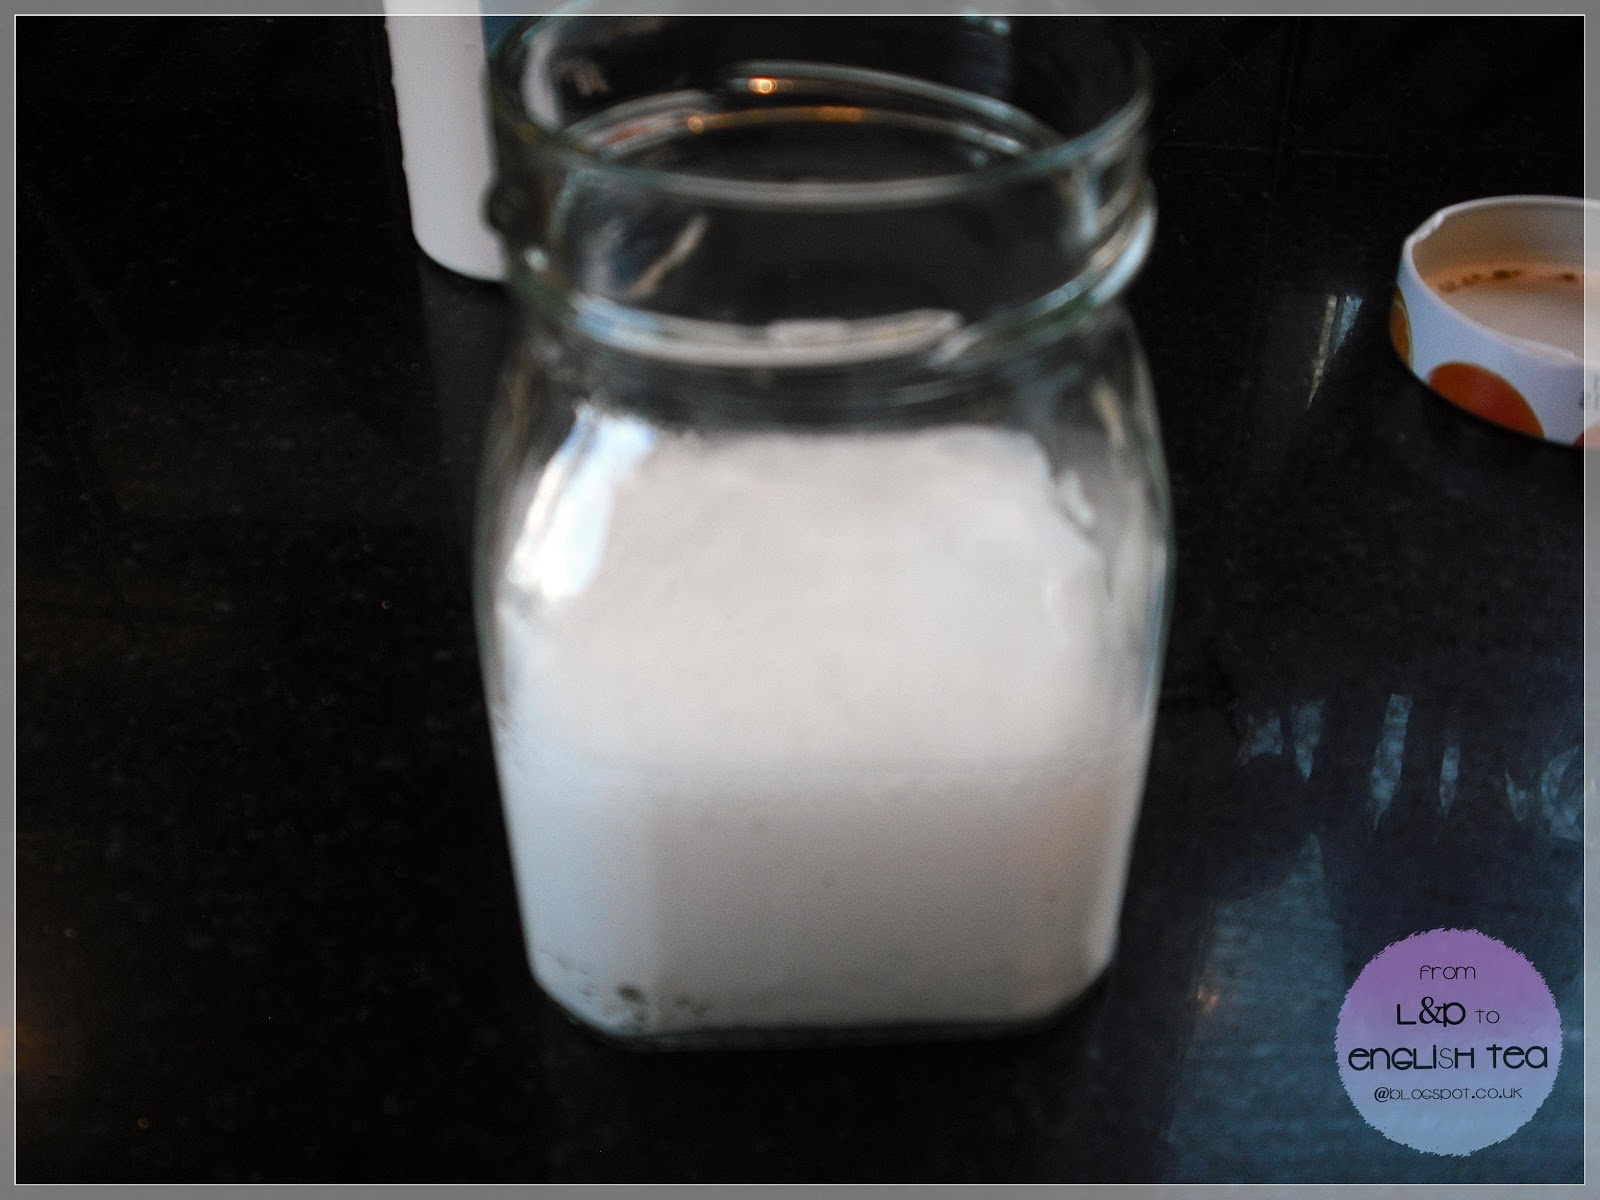
Step 2: Take your jar to the tap and put about 2 time as much water in as your did glue. I apologise for the blurry picture. Only realized it was slightly blurry after it was on my computer.


Step 3: Shake shake shake! Shake that jar (obviously with the lid tightly on) to mix that glue and the water together.


Step 4: Now you want to grab your paintbrush and brush over a good lot of your home made Mod-Podge over your canvas.


Step 5: Now take your photo. You want to place it upside down onto the canvas. Make sure it’s upside down. Remember that it’s going to come out like a mirror image of the original photo.


Step 6: Smooth it over. It should look something like this:


Step 7: Go and have a cup of tea. This is the waiting step. If you’re impatient, this isn’t going to be fun, and for that, I apologize. I went a did another project while I waited for this, which kept my impatient mind off it. You can always wait over night as well.

 Step 8: Once it’s nice and dry, you want to take your spray bottle or sponge of water. Basically you want to soak that canvas. You heard me correctly – spray or sponge water all over that picture.


Step 9: Once it’s wet, use your finger and gently rub the paper. You’ll find it starts to come off – don’t be alarmed. That’s what you want it to do. Underneath is your photo which has magically attached itself to the canvas.

 Be careful not to rub too much. You may want a really old sort of look, but if you don’t, take it slowly and be careful not to take too much off. As you can see here, I rubbed it a little too hard and that part of the spiral came off too much. But that’s okay!


You’ll also find that there are little bits of paper that are harder to get off. Just ignore those for now. When it’s dryer, you’ll be able to just gently brush those off.

 
Step 10: this step is optional. If you’ve got room around your photo, you can always paint it. I painted the outside border of mine grey and white and black. Then I also added glitter to some parts of the picture, just to make it stand out a little more. But, you can do whatever takes your fancy.


 And there we have it!!  You can have a lot of fun with this! I think I need to go out and buy some more canvases!!


 Thank-you Emma-Lee for having me!
 
/////////////////////////////////////////////////////////////////////
 
Thank you so much Anjali! Be sure to go visit her blog. I'm sure you'll love it, like I do.
 
Also check out my feature on Papa is a Preacher
 
Blessings,


Saturday, 17 November 2012

DIY Feather Canvas


//////////////////////////////////////////////////////////////////////////////////
 
Enjoy!